CONCEPT

Create together, and beyond your expectation!

BRAND CONCEPT

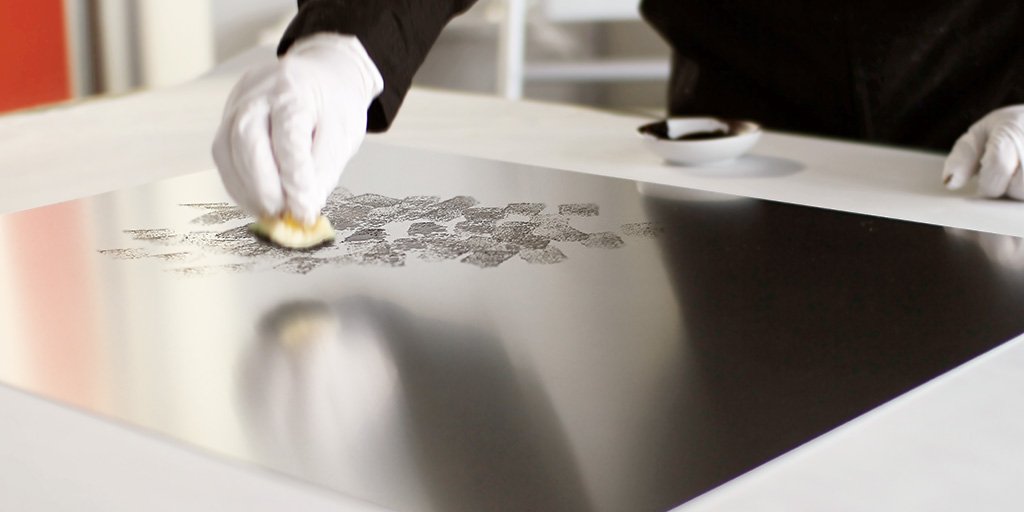
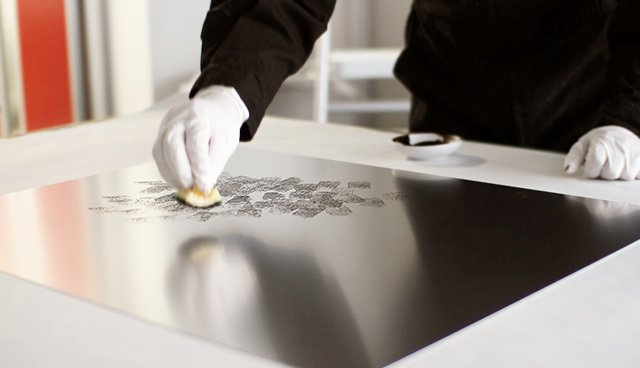
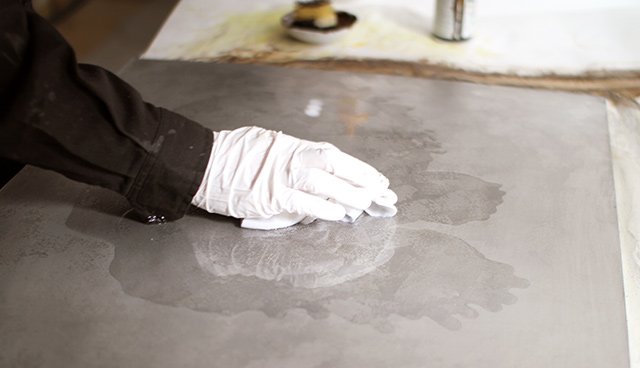
With the concept "Free Our Creativity - Artists and printmakers work together." Artie is where artists and studios exchange opinions about "Creation from Originals" that takes imagination a step further. Artists may sometimes depart from the idea of "print", but our print studio does not hesitate to take on and develop new concepts and techniques.

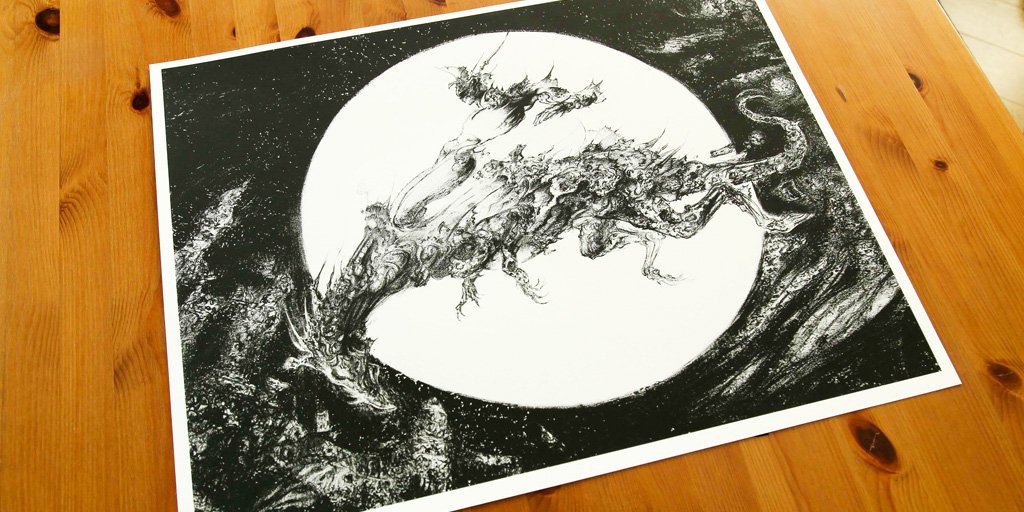
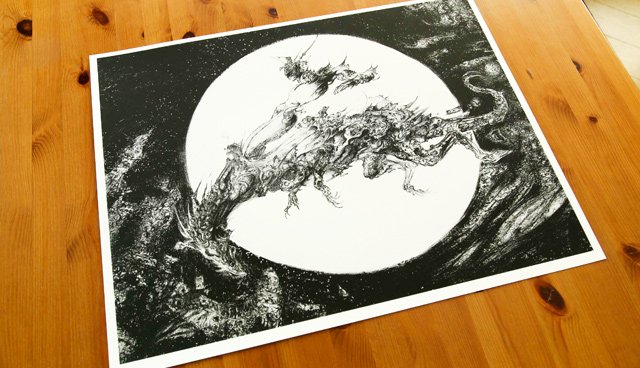
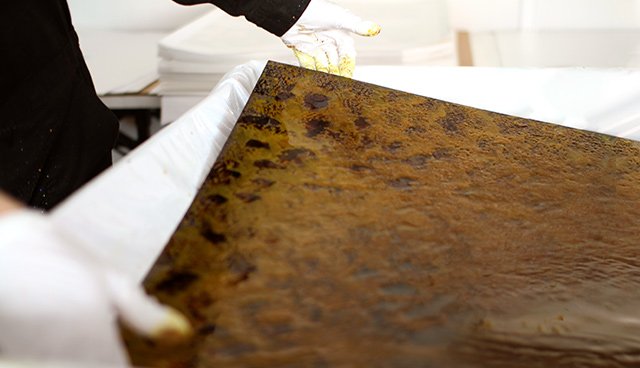
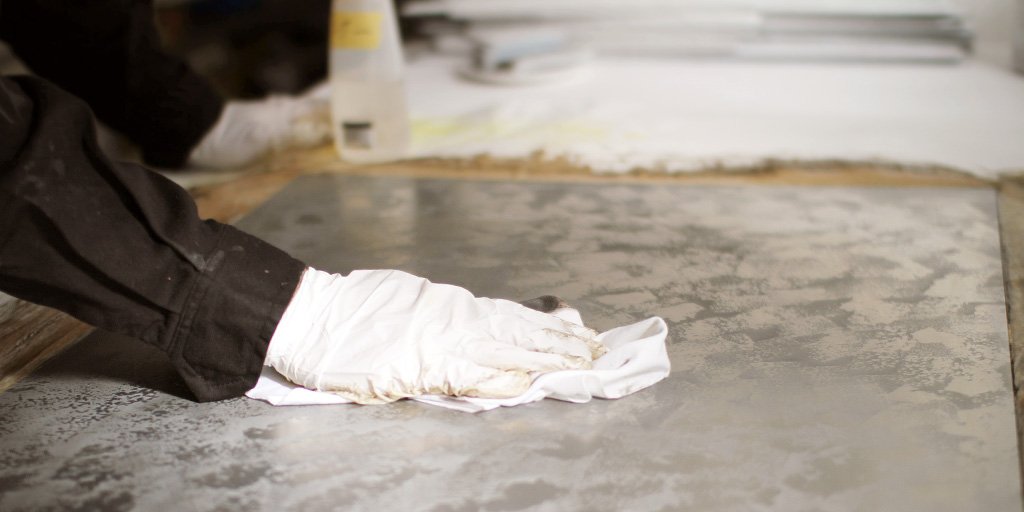
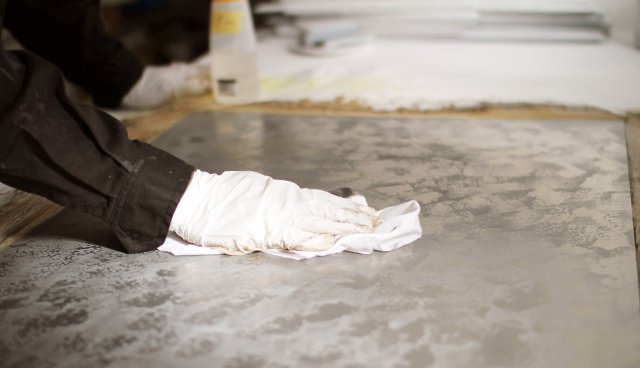
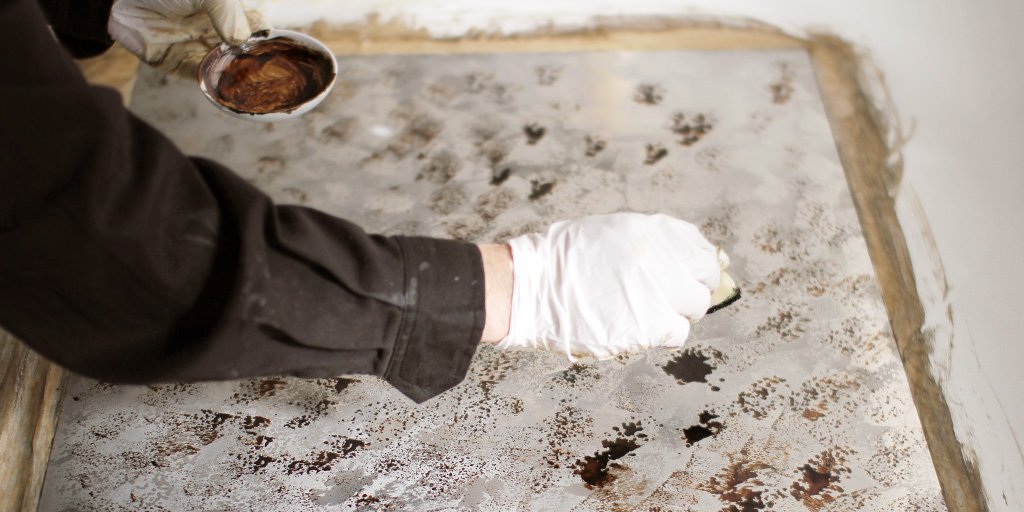
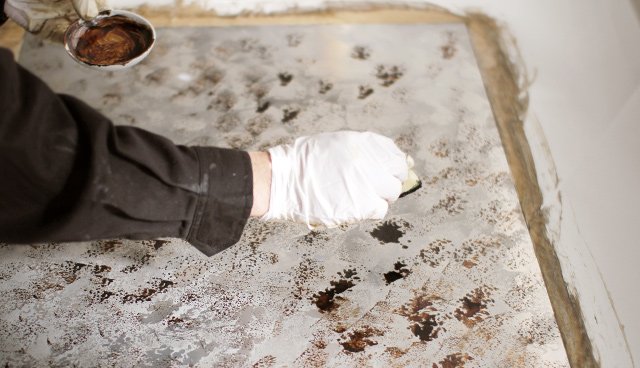
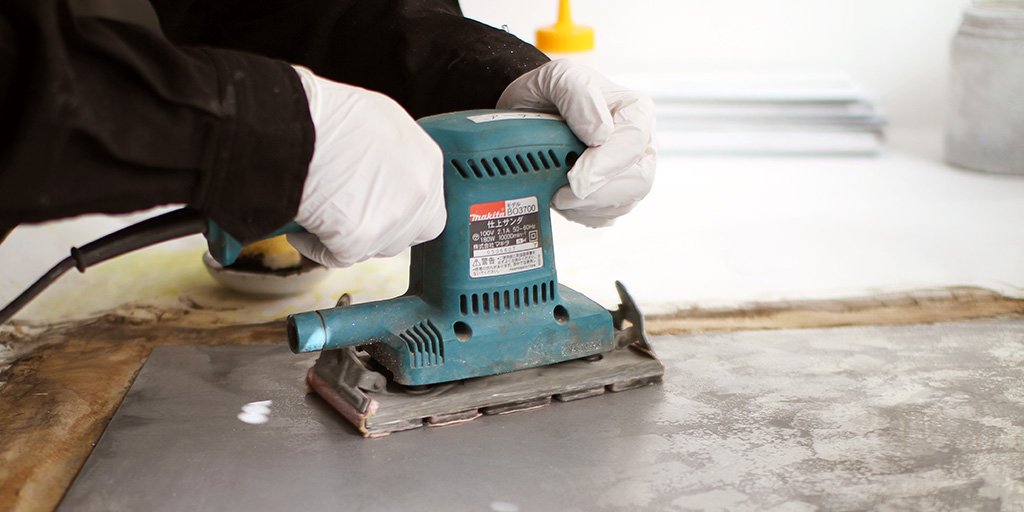
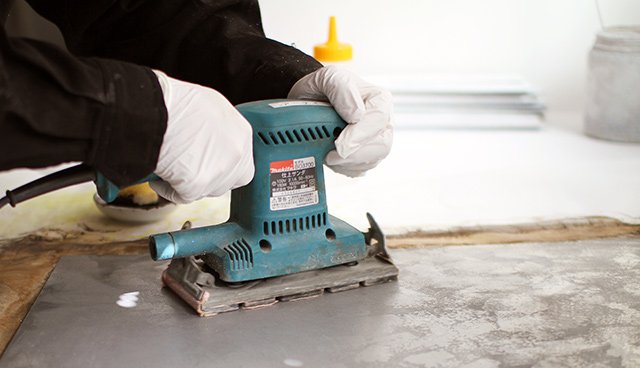
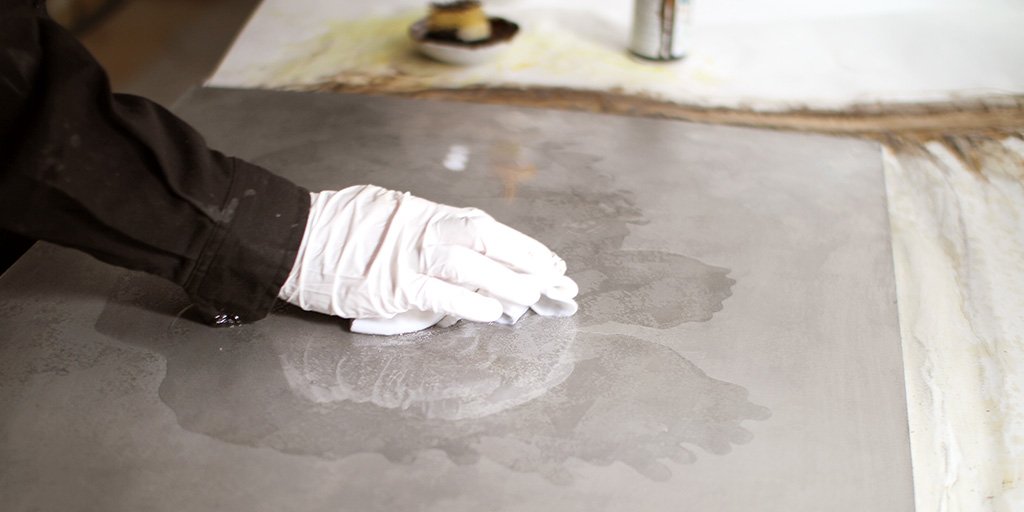
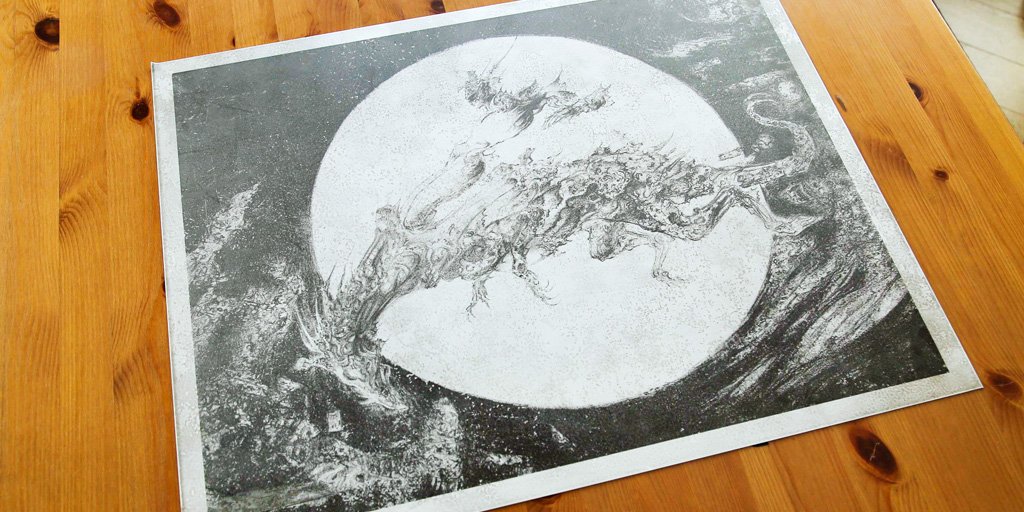
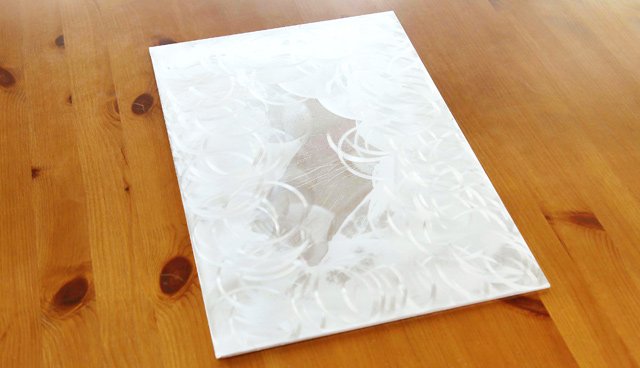
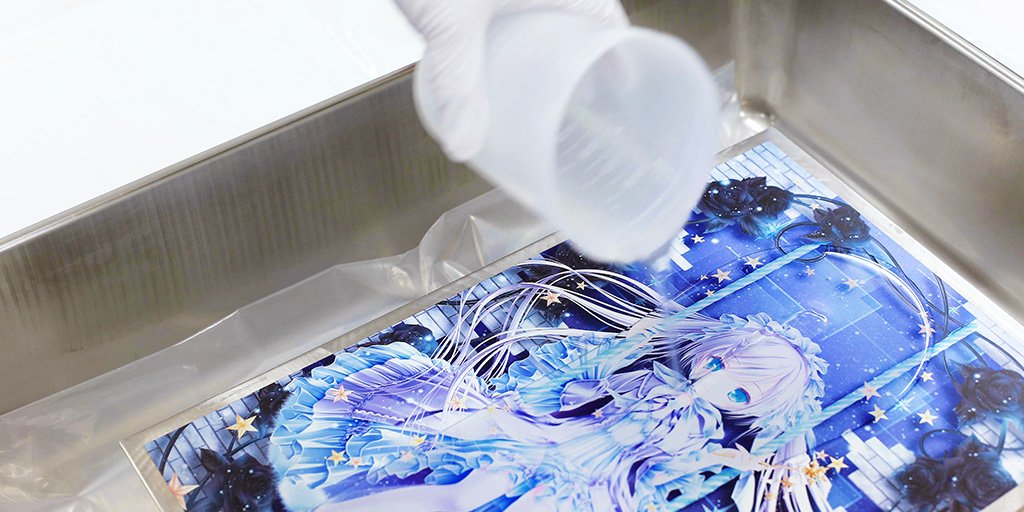
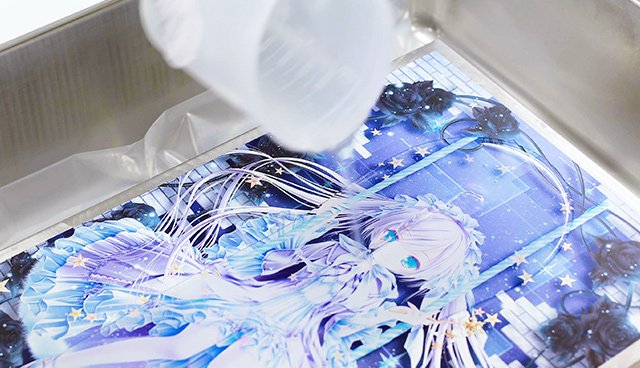
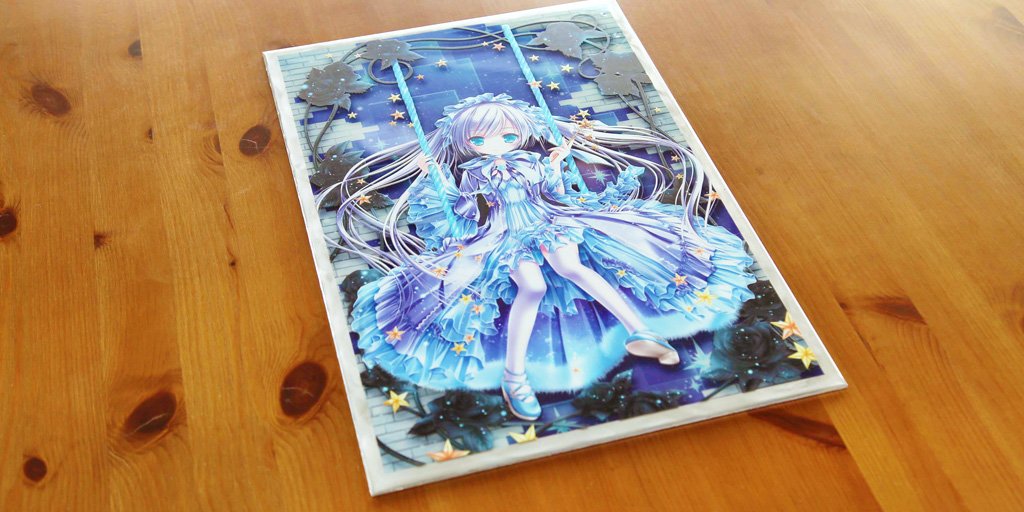
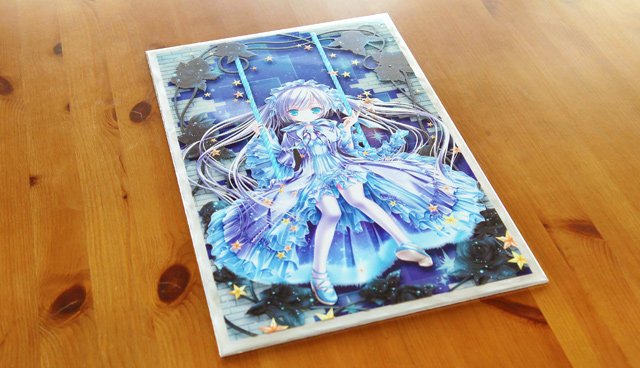
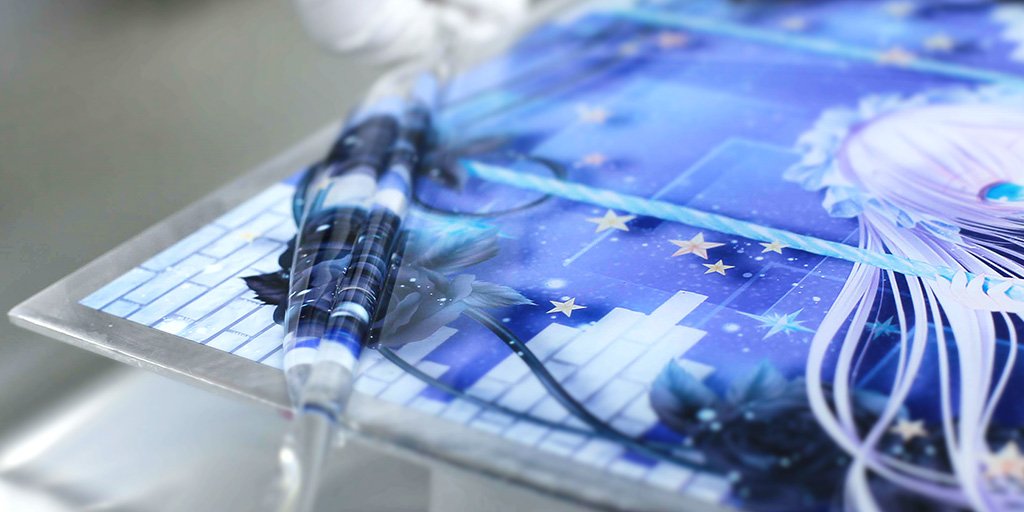
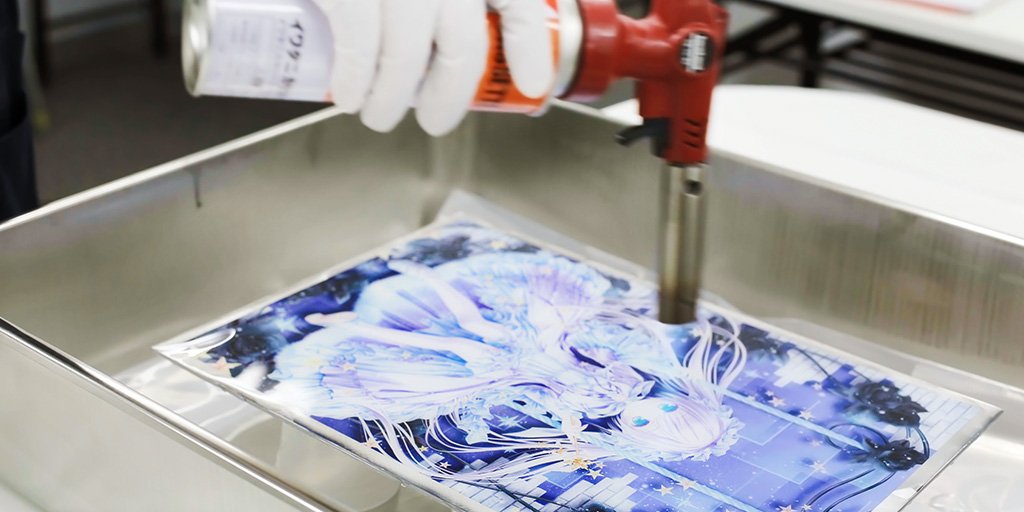
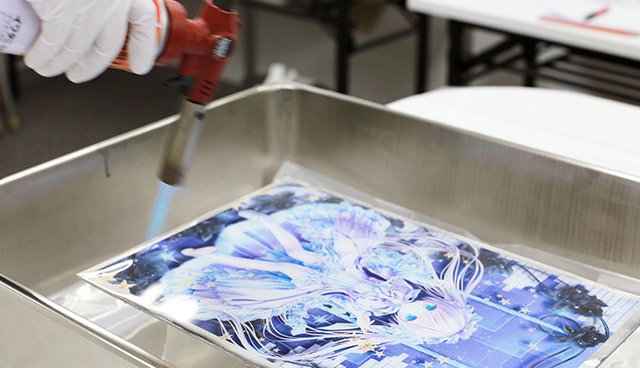
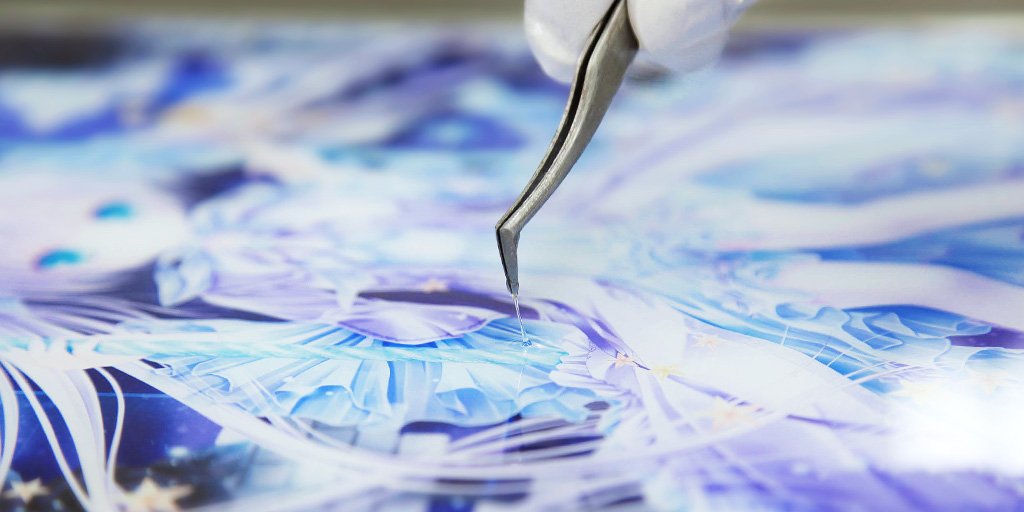
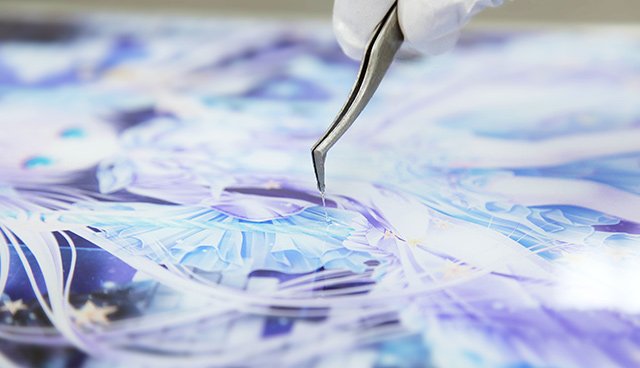
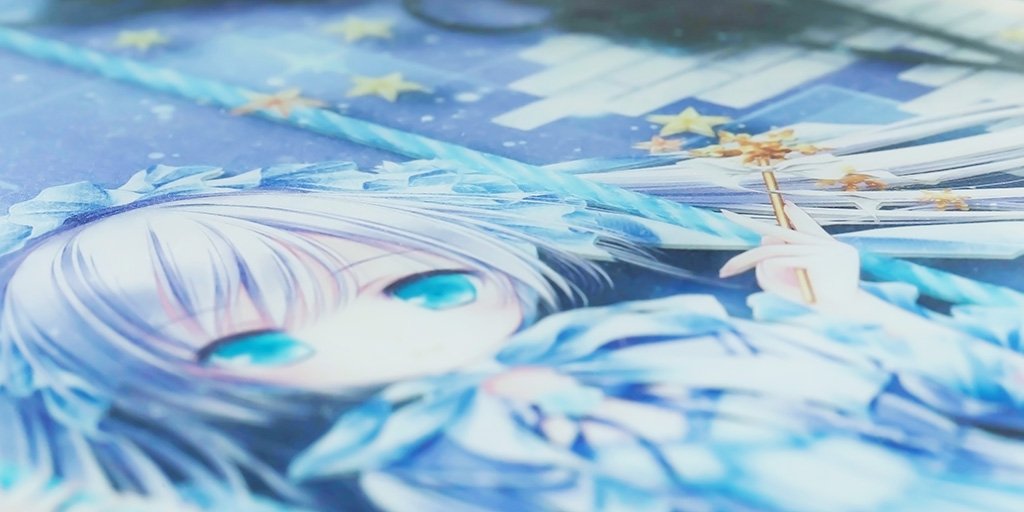
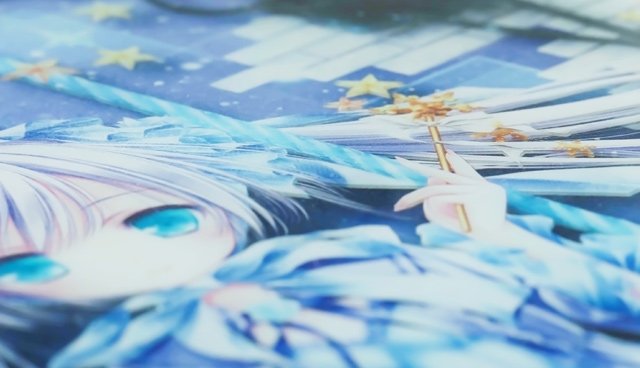
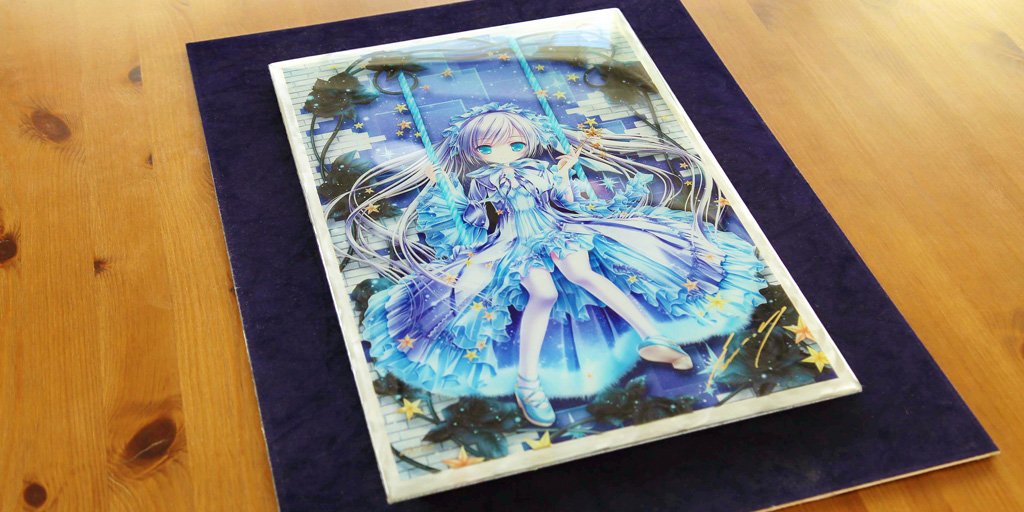
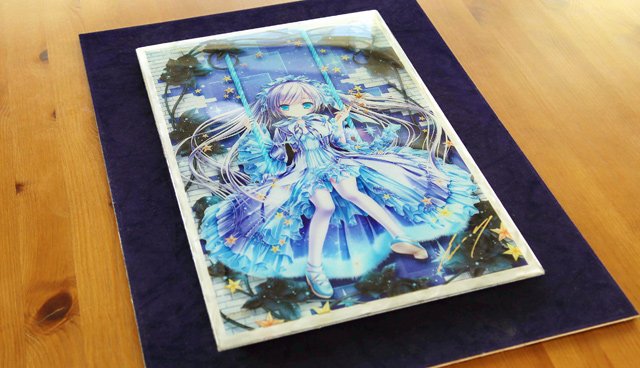
CREATION FROM ORIGINAL

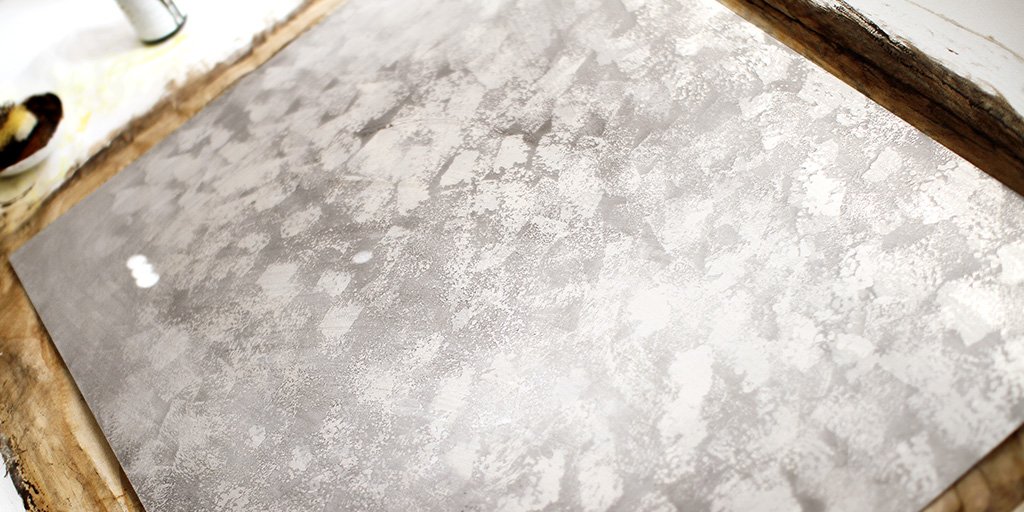
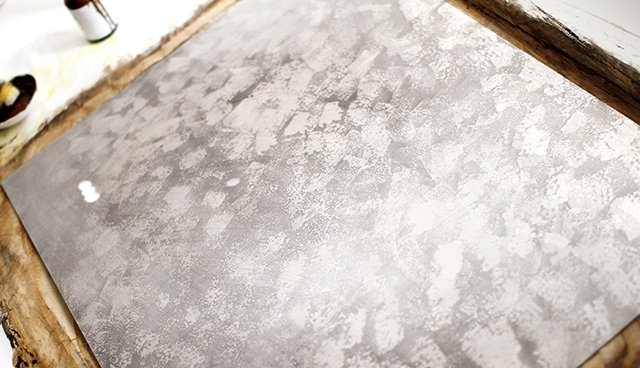
Here we introduce, step-by-step, sample creations born from Artie's concept. We do not merely duplicate; we create something new that is true to the original.

"ETOILE RECETTE M/E"
by Tinkle

  • [Meeting before creation]
    We ask what the artist wants first. Next, stainless plate is chosen as a base that is made into two layers for 3D.

  • [Under layer processing]
    The metal plate is processed with a grinder to strengthen the hold of ink and resin, and create a metallic effect.

  • [Resin mixing]
    After the 1st layer is printed, epoxy resin, a liquid required to be mixed at a precise ratio and time is prepared.

  • [1st coating]
    Levelness of the steel plate, dirt on the screen and room temperature/humidity are checked before placing the 1st layer of epoxy.

  • [2nd print]
    After checking the 1st epoxy layer, the 2nd print is created. Here, only the characters and foreground elements are printed.

  • [Equalization of layer thickness]
    The 2nd layer of epoxy is applied. Fluid is adjusted carefully to produce an even thickness on the 2nd layer.

  • [Removal of air bubbles]
    Air bubbles develop in the layers during epoxy hardening. These bubbles are removed through heat from a gas burner.

  • [Removal of foreign materials]
    Small foreign materials which fall into the epoxy layer will be removed using tweezers before hardening.

  • [Multilayer feel]
    Unique depth and transparency will be felt by building up the 1st ink layer, resin layer, 2nd ink layer, glitter, and 2nd resin layer on the metal plate.

  • [Completion]
    Work is complete after inspection. By adding depth to the charm of the original data, an impressive story has been created.

"DRAGON DX"
by Yoshitaka Amano

  • [Meeting before creation]
    We talked to the customers while looking at the source and pursued a worldview unobtainable with paper or canvas.

  • [Printing of texture]
    This work stresses the original's fantastic world via etching. The pattern is drawn using anti-corrosion on an aluminum plate.

  • [Corrosion]
    Aluminum plate is corroded. Mask against toxic gas is worn and the plate is raised from corrosive liquid a few times to corrode.

  • [Check of corrosion surface]
    The entire face is checked to make sure there are no parts left unaffected by the corrosive bath.

  • [Washing/wiping]
    The corroded aluminum plate is washed with water. The corrosive liquid is wiped from the surface with thinner for evenness.

  • [Multilayered texture]
    Steps 2-5 are usually repeated 2-3 times. With this process, the ideal background texture is achieved.

  • [Leveling the surface]
    Once the ideal background is realized, surface areas left uneven by the corrosion process are sanded level.

  • [Finishing wipe]
    In finishing, thinner is used to wipe clean the metal fragments and dirt that have adhered to the surface.

  • [Preparation of output]
    The entire surface is inspected up to the corners. Thereafter, coating for output is applied to finish the work.

  • [Completion]
    Work is complete after printing and inspection. A different world and fantastic multilayer feeling is achieved via Archival®.